Per request, I've made a tutorial for how I do my coloring of images. This is just one example, but I generally use the same tools every time. Sometimes I also use a gradient map, depending on how disparate the coloring of all the images are and how much I want to unify them.
I'll be making
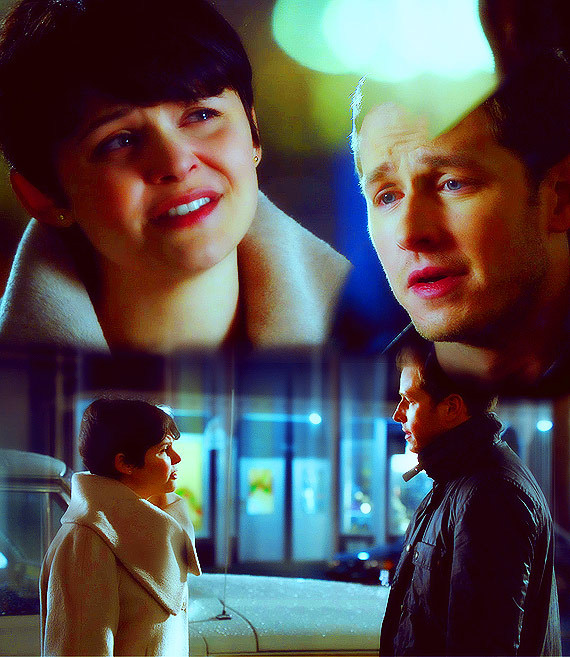
this image.
I started by blending my images together,

then merging them. I duplicated the image, sharpened it, duplicated it again, and gave it a surface blur filter. I set the sharpened copy on SCREEN and the blurred on one SOFT LIGHT. You may have to play with opacity depending on the brightness of the original image.

Next, I set my base colors. I do this with the Color Balance tool. This will always vary from image to image, but here I have examples of how I set it for this one.


You'll notice that the blues and greens stand out more, with everything getting stronger hues. Next, I use the Selective Color tool. Basically, I want to make the main colors stand out even more.


Lastly, I set a solid color on EXCLUSION over the whole thing.

I don't always do the solid color, and sometimes I use gradient maps as well. It all really depends on the cohesion of the piece once you finish coloring. For this one, I thought it needed just a little bit of softening.
So there you have it! Hope it was helpful!


")


")

