This is an old tutorial that was made at the request of a friend. I made
this graphic back when I still used GIMP so it's an ideal tutorial for those of you using that. However, it should be translatable to photoshop since there isn't really anything complicated involved. It's SUPER EASY, so no need to worry.
Since I can't remember all the details of the process anymore, I
may have missed one or two things but this is the general gist of what I did.
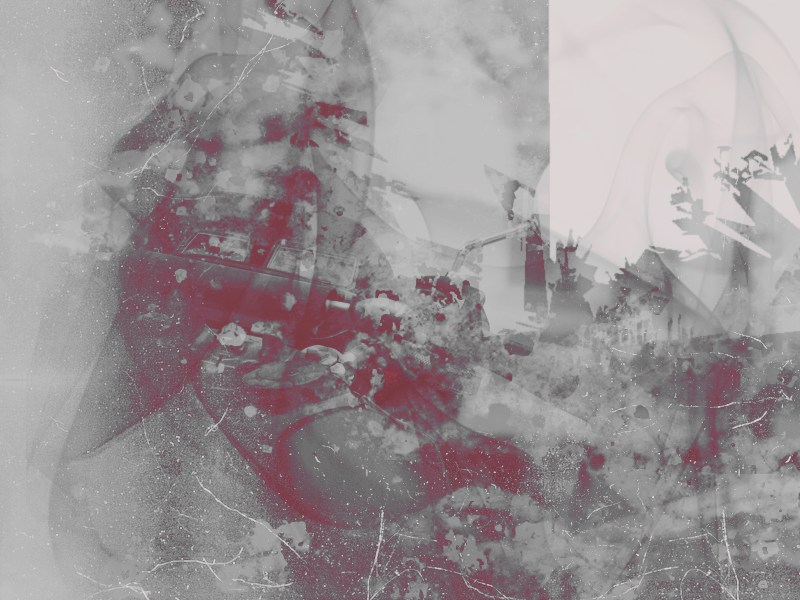
Create a new document of the size 500x200, then insert this
render and resize it to your liking. I then used this
texture for my background.

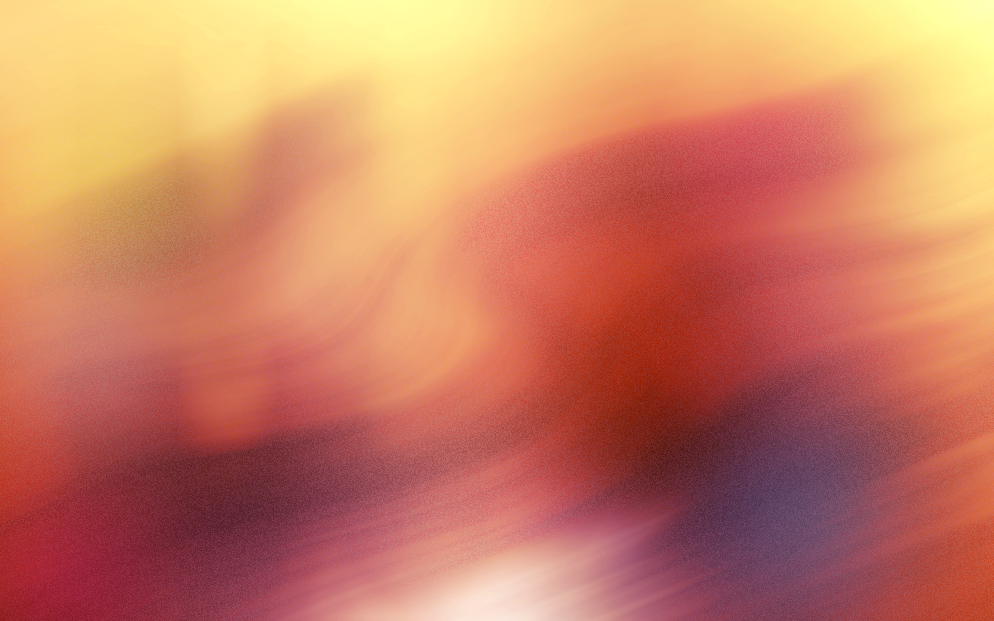
Next, I used this
texture and set it to hard light.

Then set this
texture to overlay.

Once again, include
this and set to screen.

Set
this one to lighten only.

Since the render is too light here and blends into the background too much, duplicate the render layer, making sure it's on top and set to overlay. At some point, I made the right side of the sig lighter by using the dodge tool. It's up to you if you want to do this step.

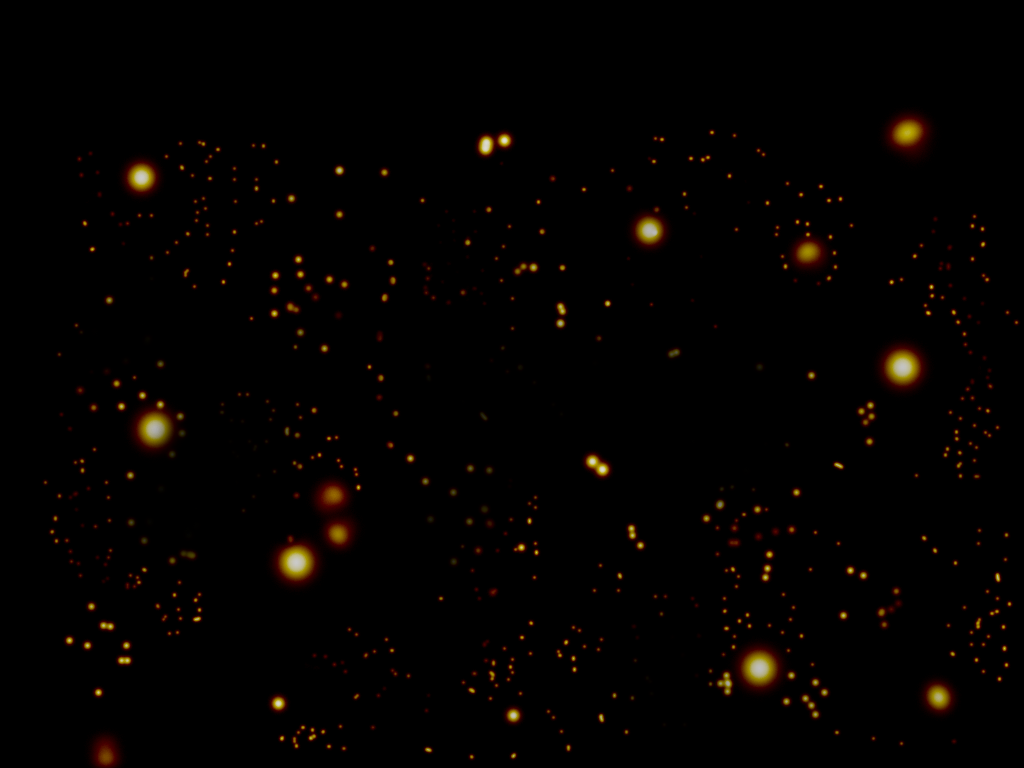
Now, use this
light texture to jazz it up a bit. I used it twice here.

Next, I created a fill layer with the colour black to darken it up a bit and adjusted it to my liking.

Lastly, using Times New Roman and a brush, I added text and a border, and voilà ~

As you can see, it's a very very simple tutorial, extremely basic.


