Whee I thought I'd have a shot at making some tutorials of Request banners I've done, mainly because I actually have the requests psds nicely saved in an organised folder, whereas everything else is left in a mess called WIPS...
This is probably better for people who know how to use photoshop, becuase I'm too lazy to explain everything
Anywho
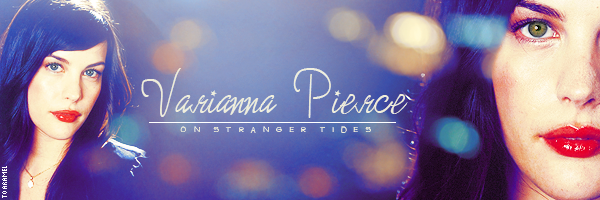
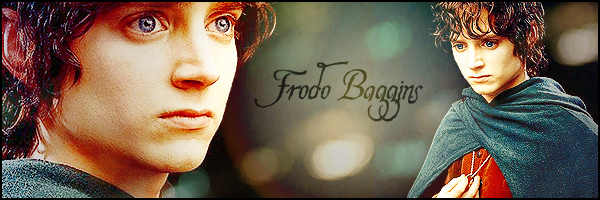
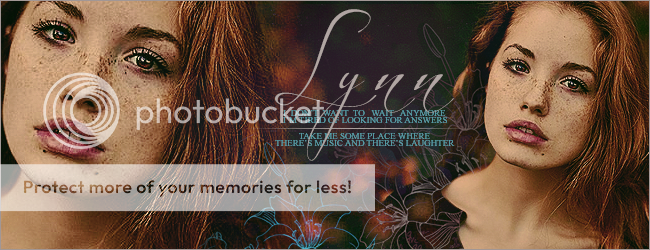
Heres how to make a selective colour banner like this:
1 - Make a new file in photoshop, I used 600 x 200 but you can do whatever size you feel like making.
Paste your images ionto the canvas on seperate layers, resize them and position them where you want. I used
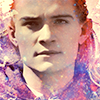
this one and
this one of Liv Tyler

2- Now for the blending.
First you need a background colour so get your eyedropper tool and pic a colour from the image background, mine was #0f1a0f. Make a new layer, drag it behind the other layers and fill it with colour.
Now we need to get rid of the edges of the images, take the eraser tool on a relatively large size (20px +) with 0 hardness and erase bits of the background so it blends, it doesn't need to be super neat.

The image on the left was slightly cropped and had a darker background so to blend it better I made a new layer, picked a colour from her shoulder and used the circular gradient tool with #040e08 to make a sort of glow behind her

3- Now we need to prepare the images for selective colour, I start by duplicating all my layers and then merging the duplicates together into one base image (I'll call it base for now

), then I still have the original images incase I make any mistakes! Hide all layers appart from the base and sharpen base if needed.
Now duplicate the base image twice so I have 3 copies of it. Change the Blend mode of Copy 1 to Screen 100% and Copy 2 to Overlay 100%
The image should look something like this

I think it looks quite dark, as it is so I decided to add a glow. To do this on a new layer above all the others, I grabbed my gradient tool and made a circular gradient towards the left, using #cdcdcc. Then I set that layer to Linear Light 60% and erased any bits that covered Liv with my eraser tool.
4- Selective colour works best with a bright colour contrast, because my image looked quite black, I added a new layer with #fef668 set at Soft light 100% over the top

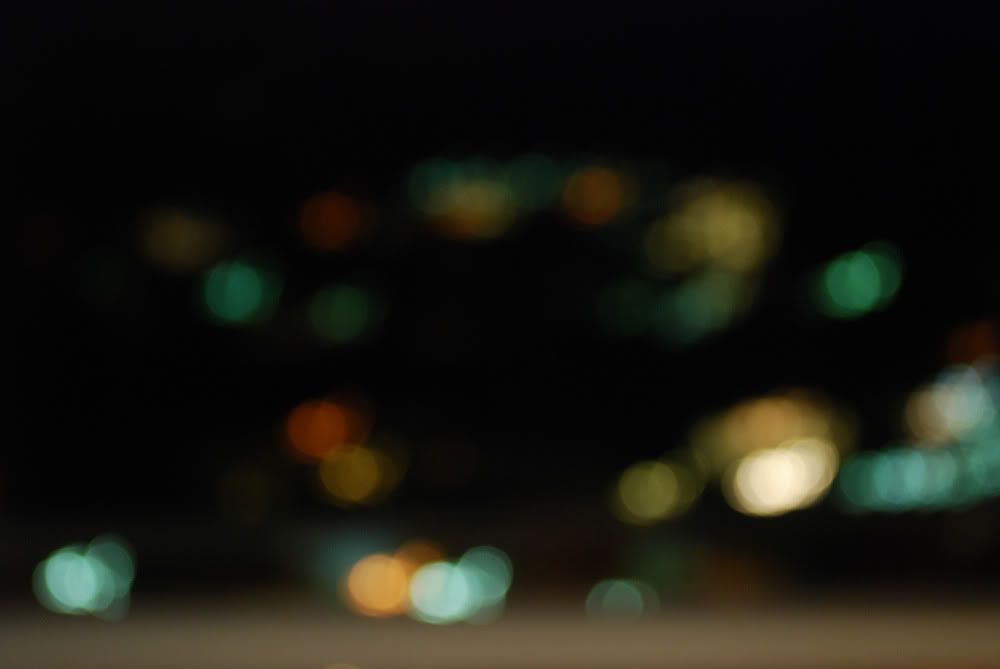
I still thought the picture looked quite cold, so I grabbed
this texture by RHCP_CSI, pasted it onto a new layer and set it to Soft Light 100%

5- Now for the fun bit. Selective colour!!!
Make a new Selective colour adjustment layer and use these settings:
Reds:
Cyan: -45
Magenta: +11
Yellow: +48
Black: +35
Yellows:
Cyan: -10
Magenta: +39
Yellow: +12
Black: 0
Neutrals:
Cyan: +100
Magenta: +16
Yellow: -100
Black: 0
I usually like primary colour contrasts, so I try and make the red and blue as bright as possible (whilst still looking nice) and the skin slightly yellowy or orange
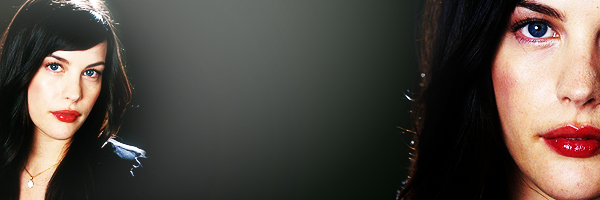
the banner should now look like this

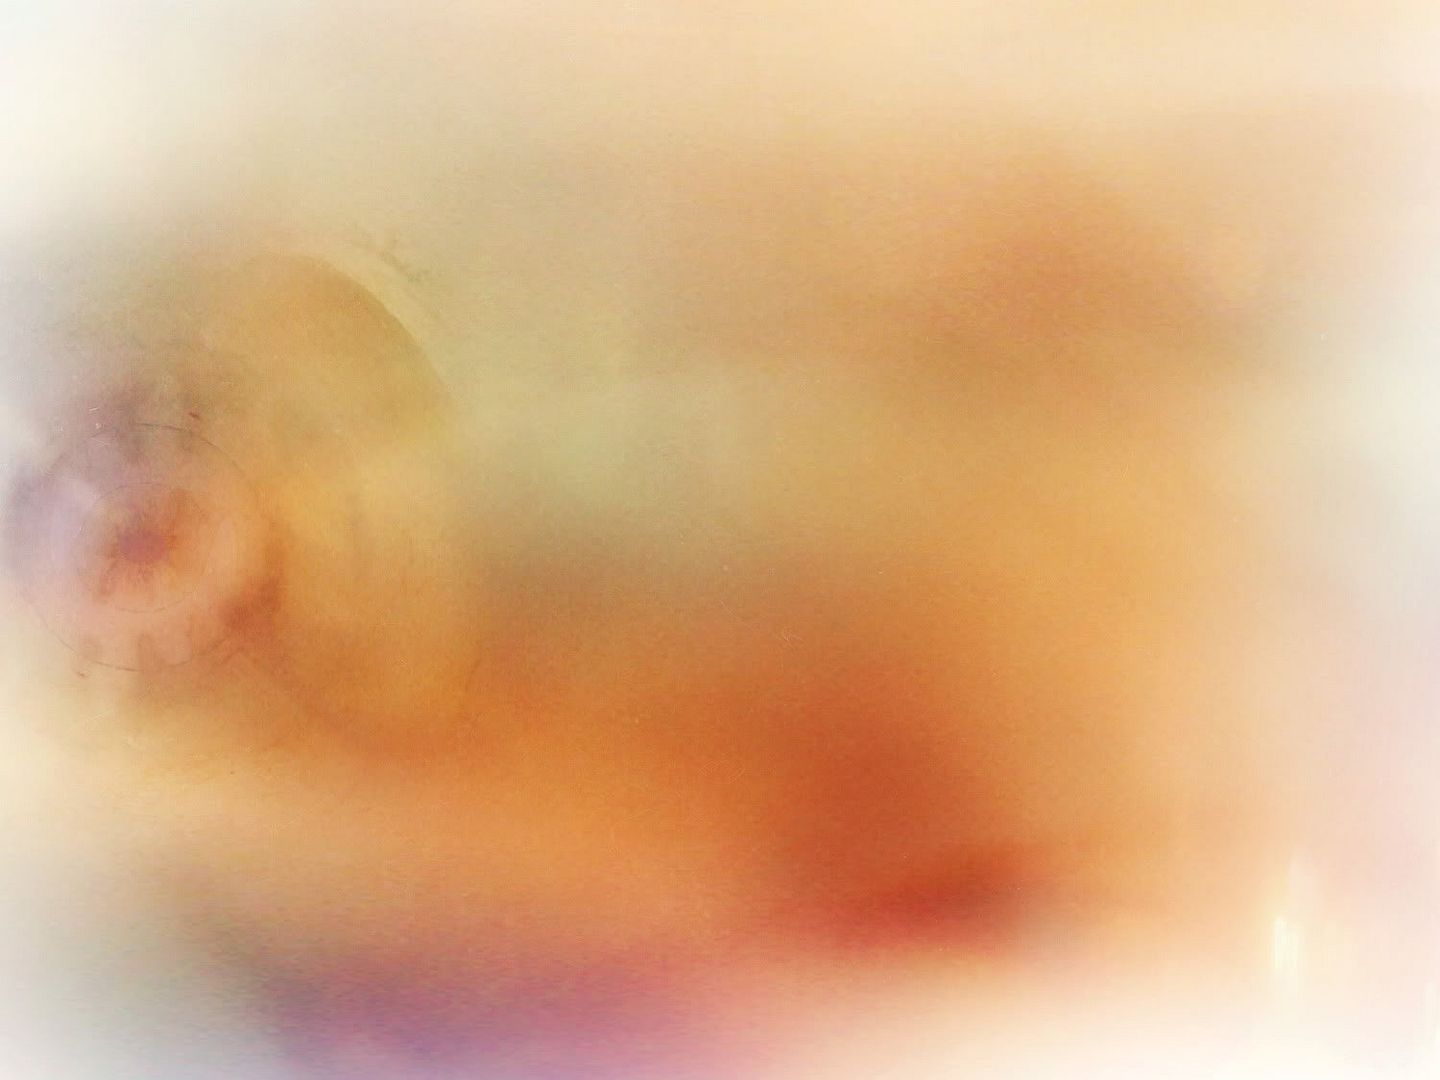
6- Now to jazz it up a bit, take
this light texture, by Crazy Kira, resize it to fit your canvas and set it to Screen 100%. I thought the colours looked a bit dull so I dragged it below the yellow fill layer made in step 4 which intensified the colours

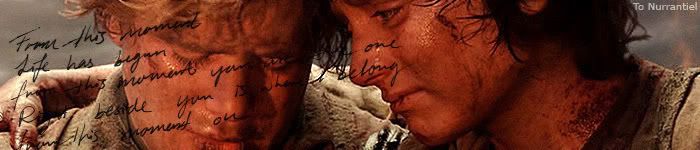
Finally, add text, whatever you like in whatever font you like
I used More Enchanted Praerie Dog for the Large text and Men in Black Credits, with spaces inbetween each letter, for the Small text. Both were custom fonts from DA Font. I wrote them both in white #ffffff.
I used my pencil tool to draw a line dividing them & then added a Dedication.
And your finished
I hope that was easy enough to follow, any more specific questions just ask me, I'd be happy to help


")


")

 Probably don't have enough space on the computer to download anything else but I'd love to get a free trial of Photoshop somehow.


")


 for some reason AU seems to be killing the quality/especially the text
  In PS it's fine, in the direct link it's fine but not here... ? that sucks
  ]
]
 Wowness Enno that looks awesome!!! I love the text- and hooray for improvising!!! Thats usually how I follow a tut, I take the basics and then make it look better by myself. The Result looks great!!!


")


 Just sayin'. Cause both of your styles are so beautiful that if ever it were to happen I would personally faint beneath the laptop and melt into a puddle of Ara juice.

