<B>Image Effect 004.</B> <I>Originally written for Pearl Evenstar</I>
<font size=1>Image courtesy of
Lost Multimedia</font>
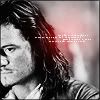
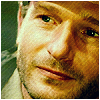
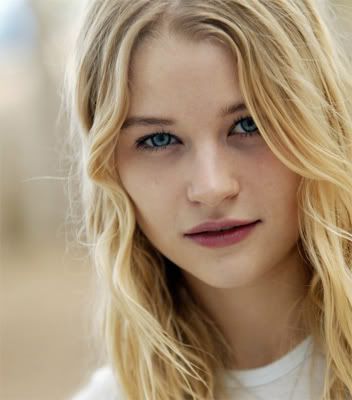
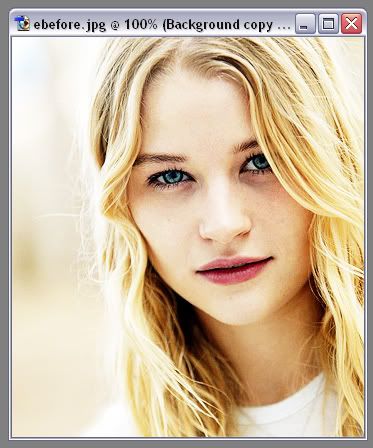
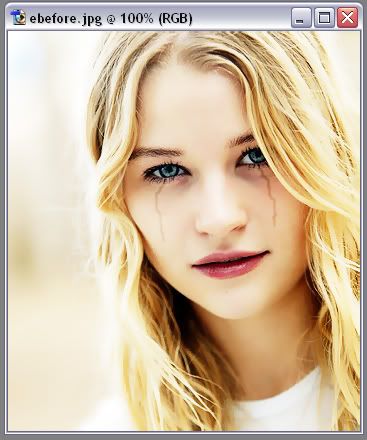
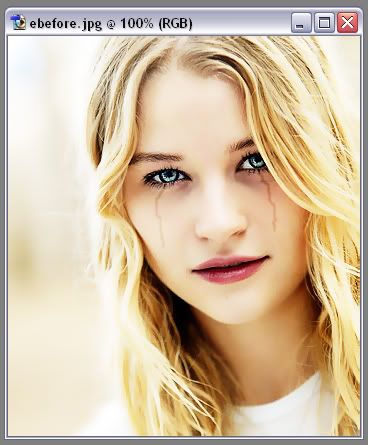
I'll be going from this:
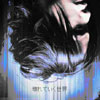
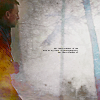
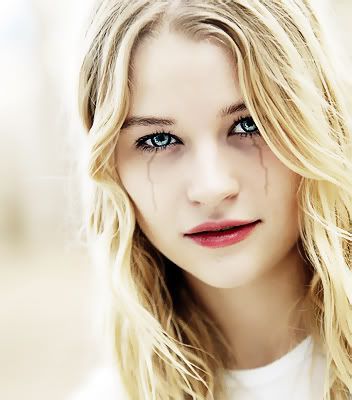
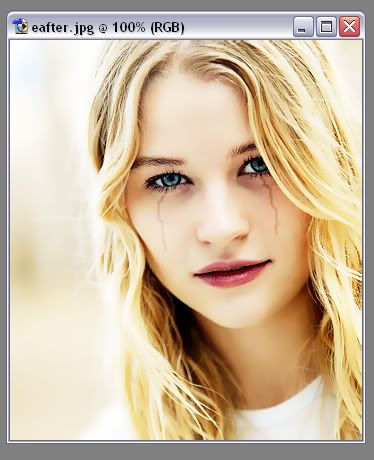
To this:
1. I open up my image; in this case, a lovely picture of Claire Littleton from the TV show <I>LOST</I>.
2. I go to Filter>>Sharpen>>Sharpen.
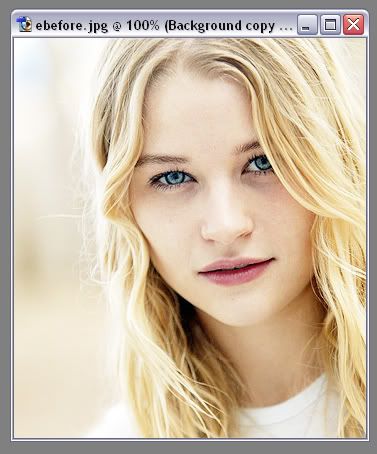
3. I duplicate the layer and set in to Screen, like so:
4. I then duplicate that layer and set that to Soft Light, like so:
5. Go to Layer>>Flatten Image and duplicate this layer.
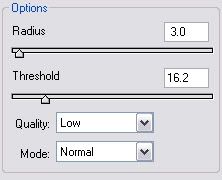
6. Go to Filter>>Blur>>Smart Blur and set the settings like this:
7. Now pick up the Blur Tool [R] and with strength 50%, start softening the bits where the image has become jagged.
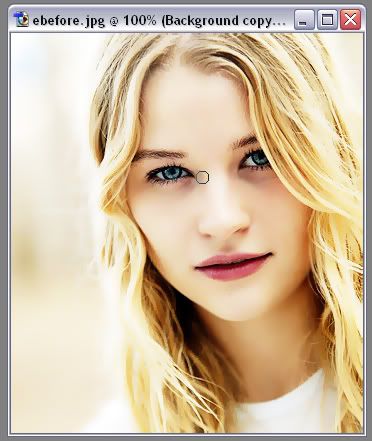
8. Now, if you want, you can lower the opacity of this layer, but not too much. I lowered mine to 77%. Now flatten the image.
9. Now, this is the tear effect. Pick up the Burn tool [O], it looks like a hand making a circle, making sure the colour you're using is black. You need to make sure you have a small, round brush selected, otherwise it won't look right. I've used a brush size of 4px, but this can be smaller or bigger depending on the size of the image you're using.
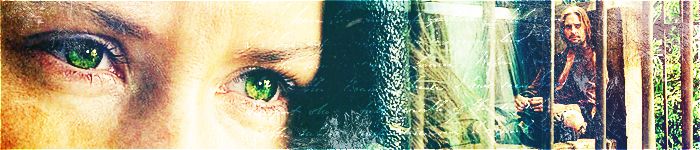
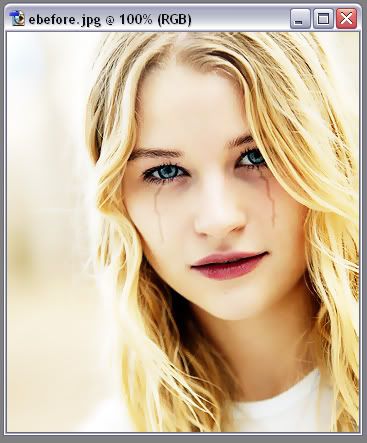
10. Now, you need to be careful how you do this, otherwise it doesn't look realistic. Try and find a picture of a person crying if you're not sure. I generally try and start from this point:

... and work my way down. So, using your burn tool on 100% exposure, draw your tear. Try and follow the curve of the cheek rather than drawing a straight line, and don't try and make it perfect. Tears don't fall perfectly, remember! This is what mine looks like:

11. If you want, you can also use the burn tool underneath the eyes as well, to make it look more dark--but I'd suggest lowering the opacity to about 40%, unless you want them to look completely goth

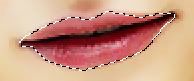
12. Now, this part is for editing the eyes and lips. On the lips, you can make them more glossy by picking up the Sharpen tool [it looks like a triangle] and running it over the lips. Try not too do it too much, though, because you'll make it pixellated. Try and stick to doing the bottom lip, too. Here's what mine looks like:
13. Picking up the Dodge Tool [looks like a line with a circle on the end], and using it on the highlights in the lips looks nice too. Try and use a small brush again; I used 1-2px, depending on the highlight. The burn tool on the shadows of the lips looks great too.
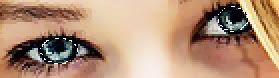
14. Now, for the eyes, use the dodge tool on the white part of the eye, and on the highlights. Again, use a small brush.
15. Also, use your dodge tool to light the bottom half of the iris--but not too much! You can use the sharpen tool to make it more glassy, and the burn tool for darker areas, like the pupil and the outside of the iris. You might want to zoom in when doing this.
16. Now we're going to make the eyes and lips stand out even more, by lowering the saturation of the rest of the image. This is fiddly but looks good

Pick up the Ellipictal Marquee Tool [looks like a dotted circle] and put the feather to 1px.
17. Select one of the eyes using the tool, then hold down the Shift button and select the other. It's probably a good idea to zoom in if it's a small image.
18. Now pick up the Lasso Tool [looks like a lasso rope] and make sure the feather is set to 1px. Holding down the Shift button again, select the lips, making sure to make the selction joins up.
19. Now go to Select>>Inverse, then Image>>Adjustments>>Hue/Saturation.
20. Now lower the "saturation" to a level that looks good to you. I lowered mine to -31.
And you're done! It's a bit of a long, fiddly, process, but I think it looks great
If you have a question, just ask!


 If it was Icon tutorial, I can do it so I can show you how to make the eyes and lips shiny, too...